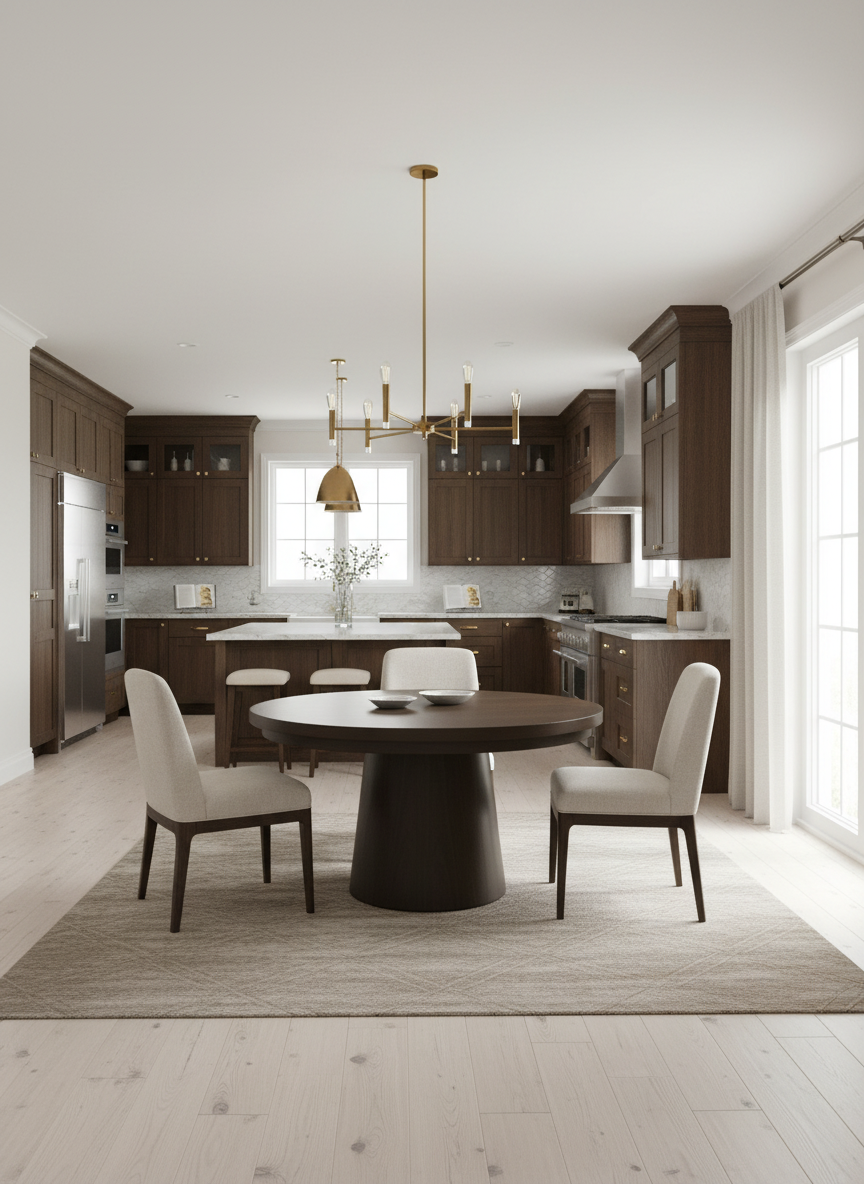
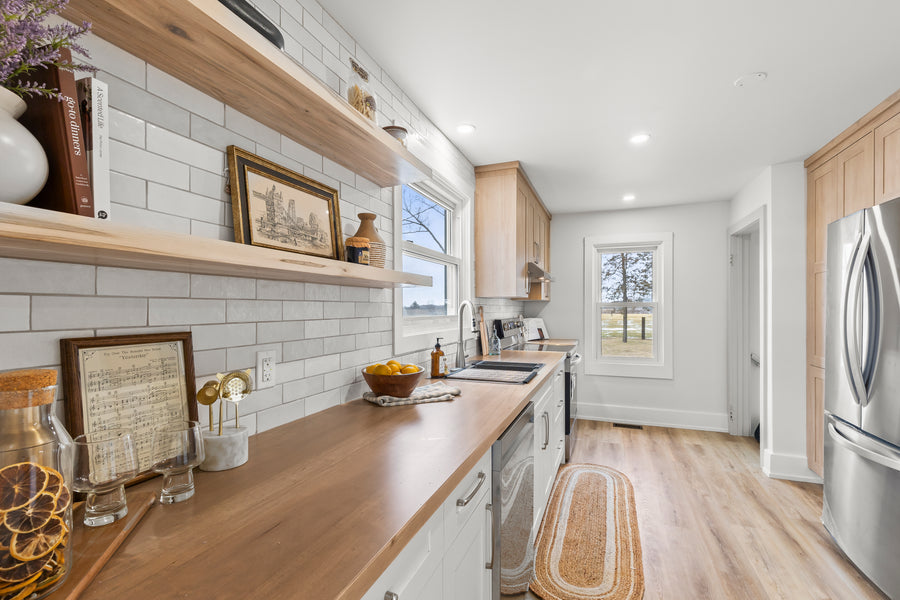
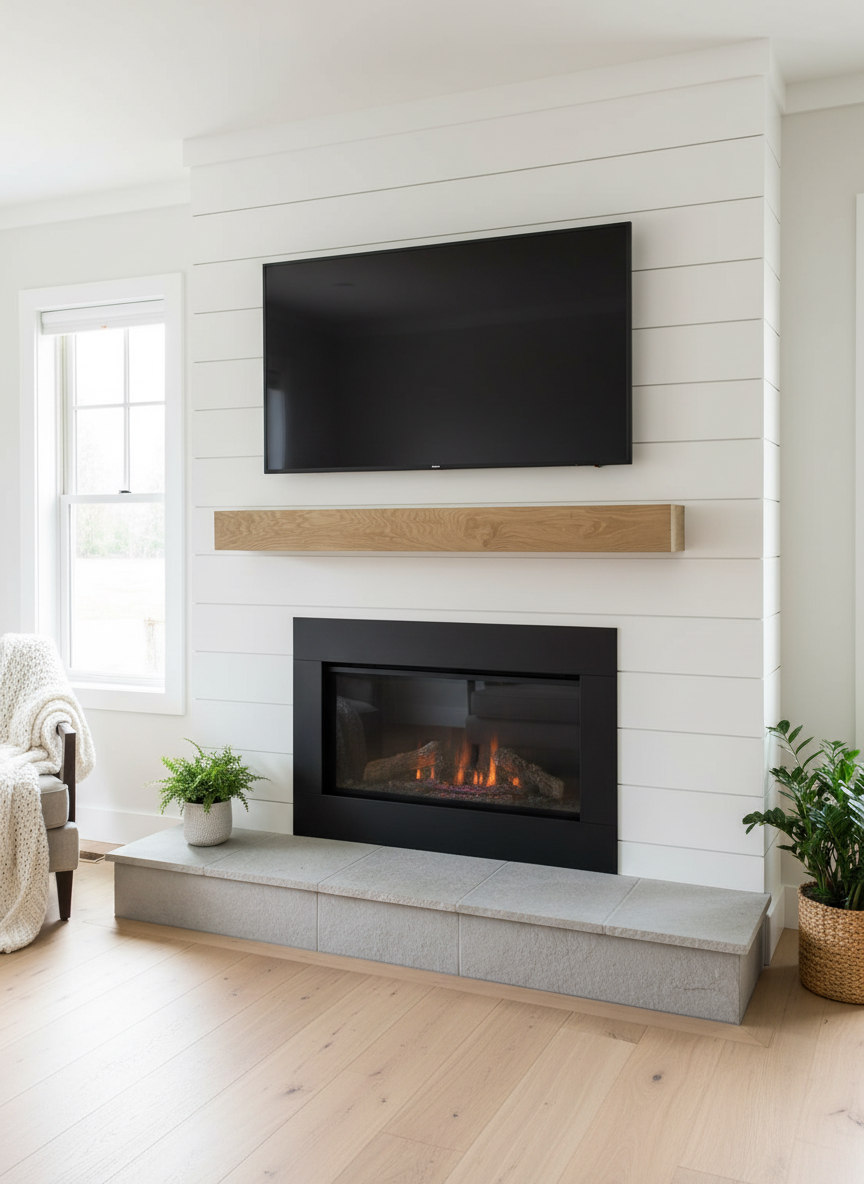
Solid hardwood floating shelves
Finished like your cabinets
Built to order in our London shop and sprayed with a cabinet-grade finish, in the colour that suits your space.
Made in Canada
Solid hardwood, built in London, ON
Built to order
Custom sizes and colour matching
Bracket installed
Up on your wall in under 10 minutes
Free shipping
Across Canada and the US
Shop by colour
12 finishes, 3 hardwoods
Tap a colour to see it, then pick your size on the next page. Need a colour matched to your cabinets? Send us a cabinet sample, floor sample or other wood sample and we'll match it.
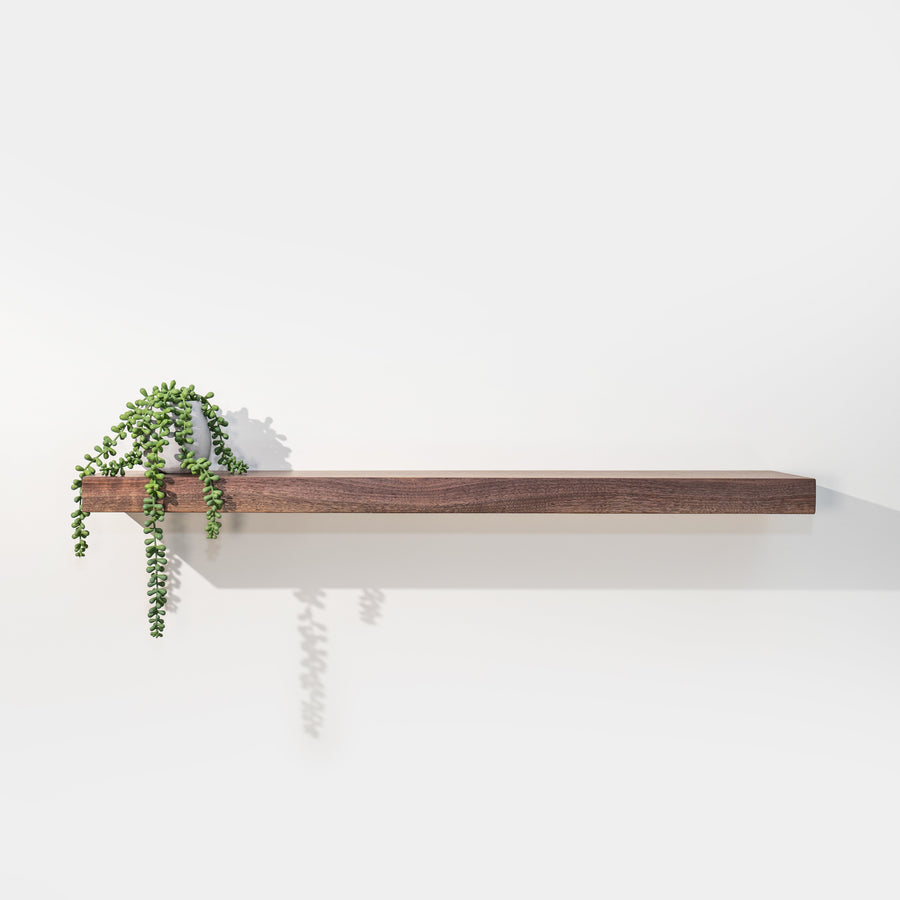
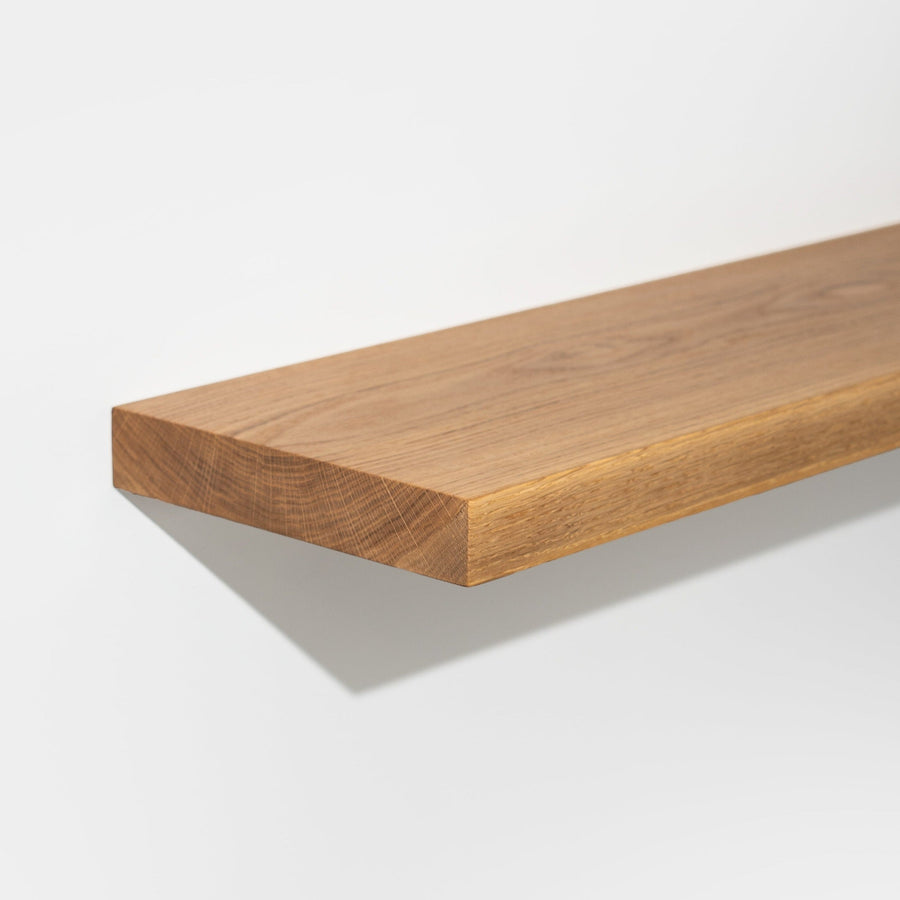
 Black Walnut · Clear
White Oak · Natural White
White Oak · Chocolate
White Oak · Clear
Hard Maple · Clear
Wormy Maple · Natural White
Ash · Clear
Ash · Chocolate
Wormy Maple · Clear
Wormy Maple · Stone Brown
Black Walnut · Chocolate
Ash · Black
Hover or tap a sample to see the colour
Colour samples
See the colour in your own light
Screens never get wood tones quite right. Order a real sample of the exact finish, hold it against your cabinets and walls, then order your shelves knowing it's the one.
- Pick the finishes you're deciding between
- We ship them free, straight to your door
- Hold them up in your space and choose
3 samples for $30 · mix any colours, discount applies automatically at checkout
Order SamplesSize guide
Which size do I need?
Pick the depth for what's going on it, then the length for your wall.
6" deep
Books, spices, decor
Slim and clean. Great for hallways, bathrooms, plants and picture ledges.
8" deep
Mugs, glasses, side plates
A great kitchen depth. Holds everyday dishes without sticking out too far.
10" deep
Dinner plates, bowls, coffee bar
Room for larger dishes, canisters and small appliances.
Choosing a length: wall studs are usually 16" apart, so shelves 24" and longer will reach two studs on most walls. Lengths run from 12" to 72". Not sure what fits? Send us a photo of your wall and we'll help you pick.
Why Workers Wood
Not your big-box floating shelf


| Workers Wood | Typical store-bought | |
|---|---|---|
| Wood | ✓Solid hardwood all the way through | Often veneer over MDF or particleboard |
| Finish | ✓Cabinet-grade coating, sprayed in our shop | Thin factory coat |
| Colours | ✓Up to 4 finishes per wood, plus custom colour matching | Usually 2 or 3 |
| Strength | ✓150 lbs per stud | Often light or decorative use only |
| Bracket | ✓Hidden aluminum HOVR, installed in the shelf | Visible brackets or light-duty hardware |
| Made | ✓Built to order in London, Ontario | Often mass-produced overseas |
Reviews
In real homes
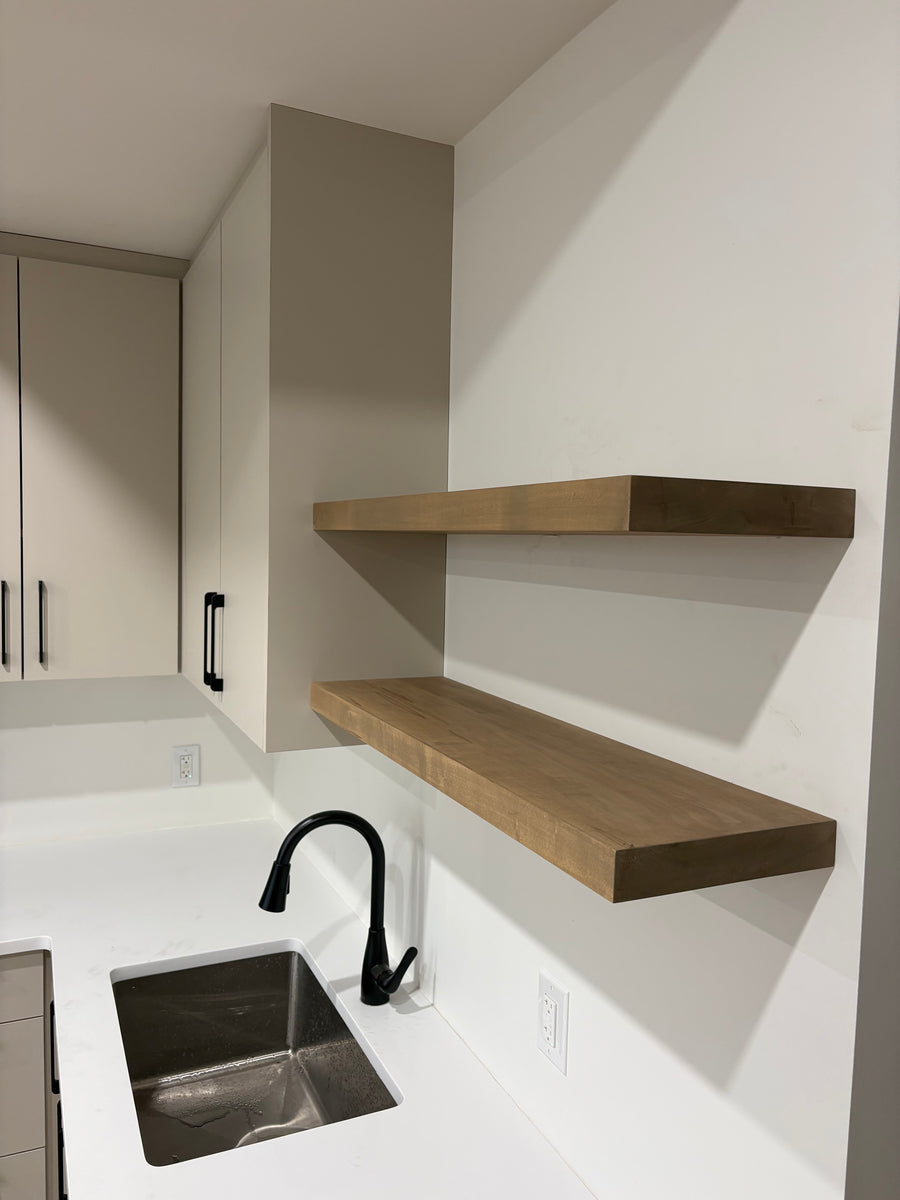
“Cole had outstanding customer service skills and was extremely accommodating to all request. His product was excellent, stain was exactly what I wanted and the delivery was fast. The shelves are sturdy and easy to install.”
Sue H.
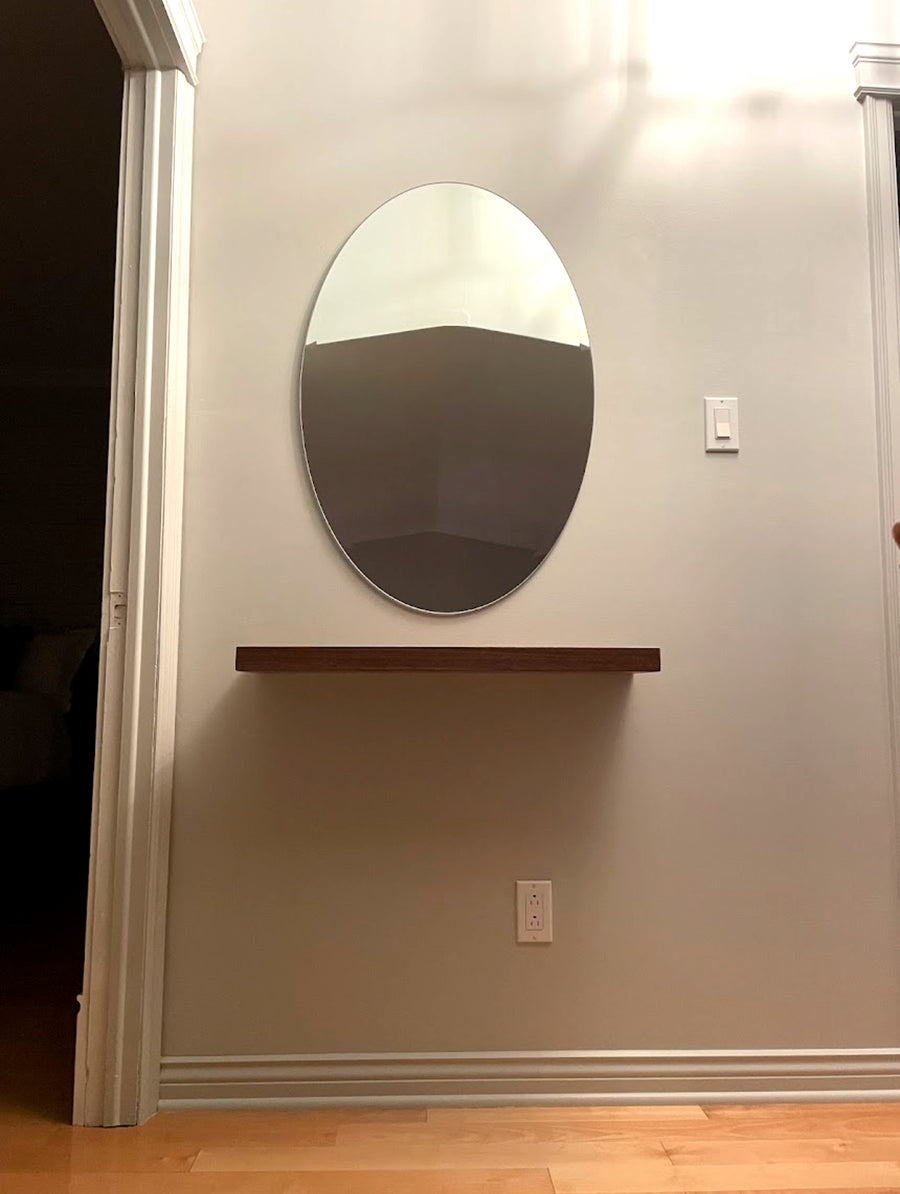
“Beautiful floating shelf! Craftsmanship is stupendous as well as quality; I couldn't be happier with how it looks in our home!”
Barbara L.
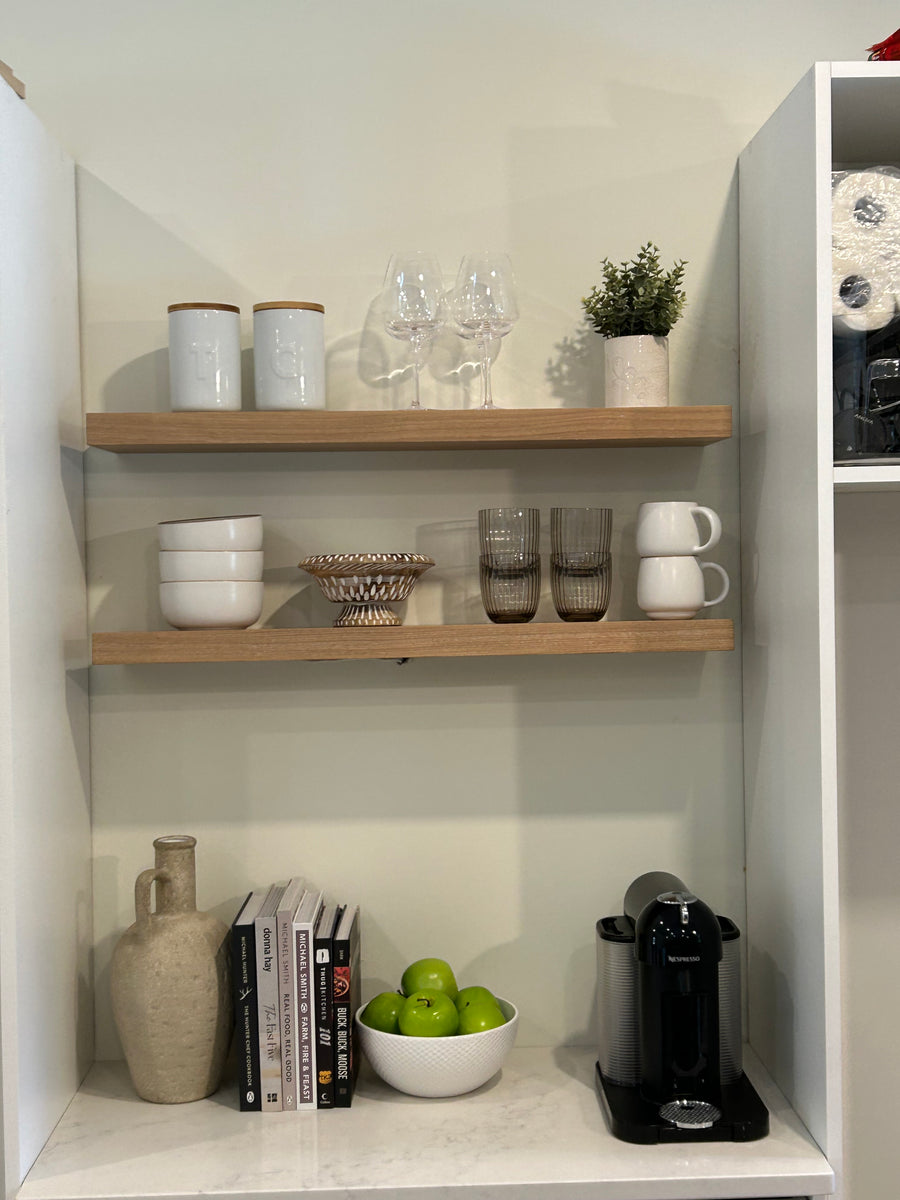
“Love love my shelves. They look beautiful in my kitchen.”
Sheryl L.
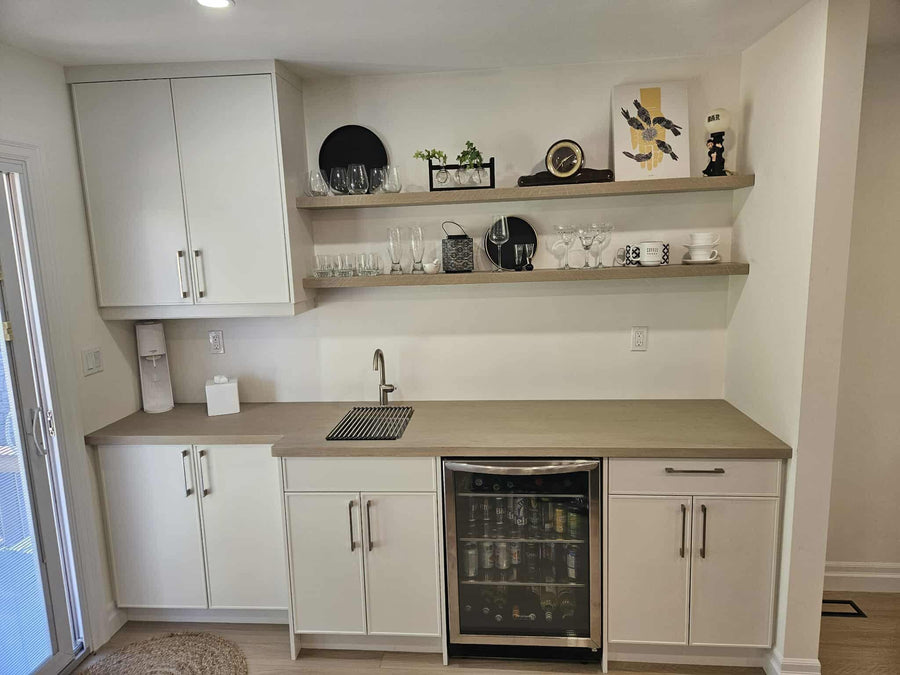
“Well built shelf, looks great and fits well in our room.”
Francis
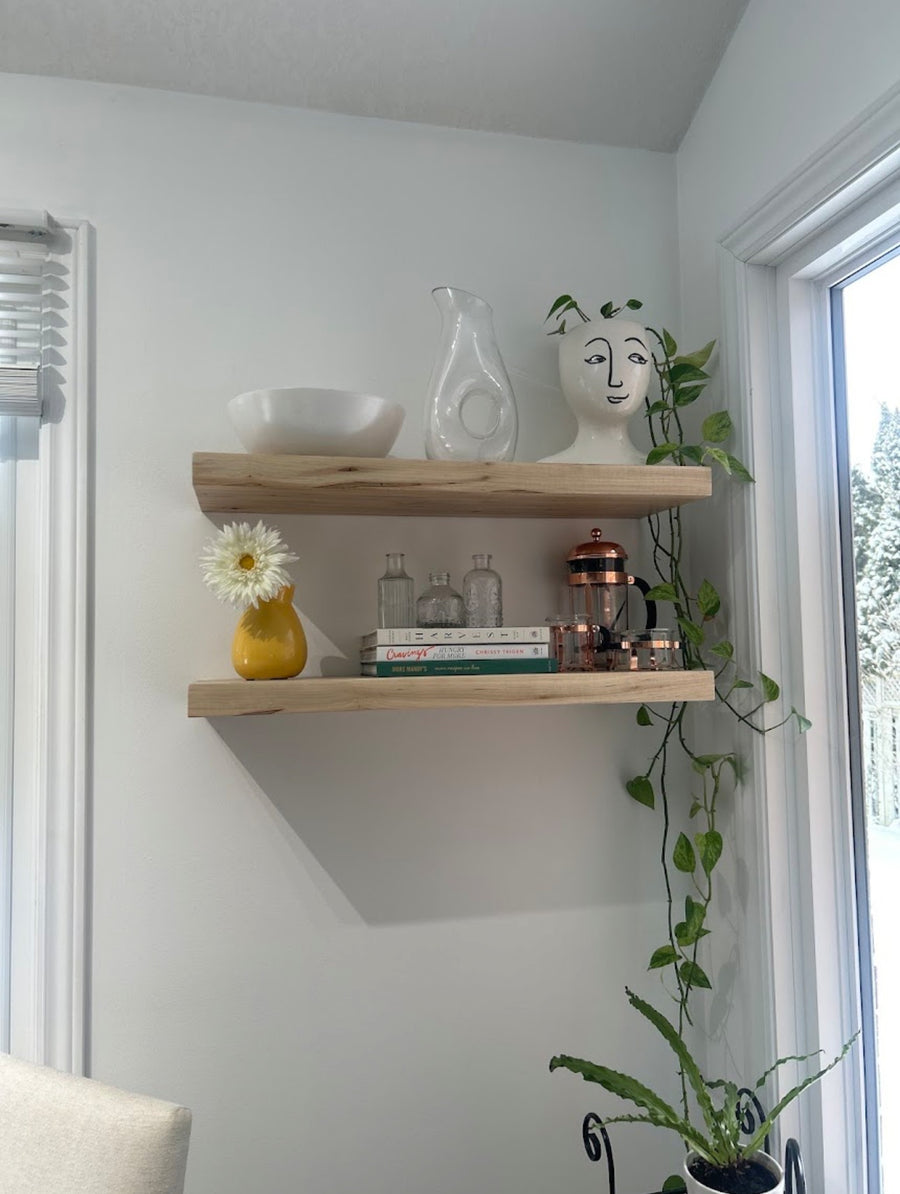
“Shelves look great! We love them.”
Brooke M.
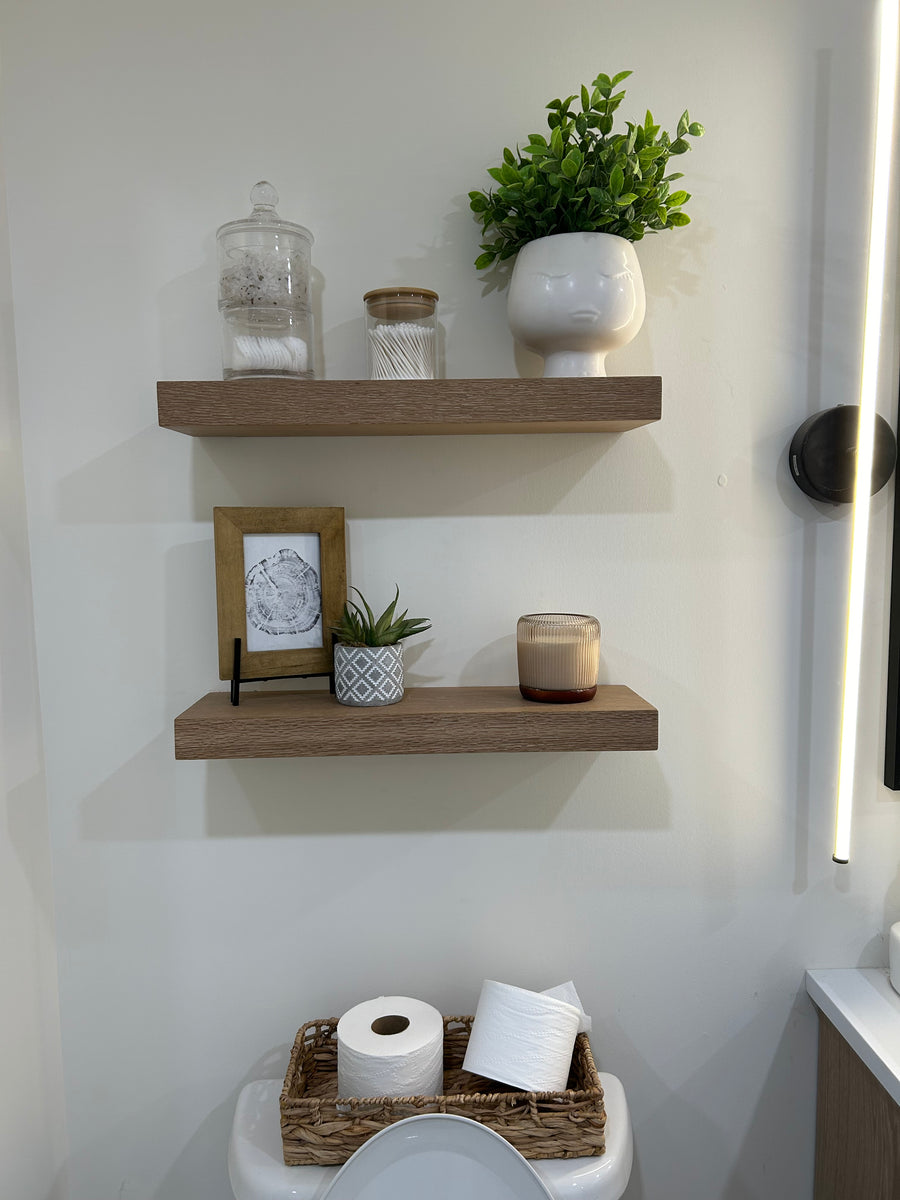
“Easy setup and great quality. Will be coming back for more!”
John D.
Easy install
Up on your wall in under 10 minutes
The hidden HOVR bracket comes installed in your shelf. All you need is a pencil, a drill and a level.
1Mark your spot and find the studs
Pencil a rough line where you want the shelf. Tap along the wall or use a stud finder, and mark each stud on your line.
2Mark and drill the bracket
Take the wall bracket off the shelf. Hold it up to your marks, mark where each stud lands, and drill a hole at each mark.
3Level and screw it to the wall
Set your level on the bracket, line it up, and screw it into the studs.
4Click your shelf in
Tilt the shelf up at about a 15° angle and hook it onto the bracket. Then tap down on the top of the shelf until it clicks in and sits at 90° to the wall. That's it.
- 150 lbs per stud
- No sag, stiff aluminum bracket
- Hidden once it's up
Mounting height guide
How high should I hang my shelves?
These are common guidelines. Use them as a starting point, then tape a line on the wall and step back before you drill.
-
Above a kitchen counter
18–24" above counter
Measure from the countertop to the bottom of the first shelf. 18" lines up with most upper cabinets.
-
Stacked kitchen shelves
15–21" apart
Leaves room for plates, glasses and canisters, with space to reach in without bumping the shelf above.
-
Living room or office
12–16" apart
Good spacing for books, plants and decor. Go tighter for small pieces, wider for tall vases or art.
-
Above a toilet
10–24" above tank
Deeper shelves go higher. Always leave enough room to lift the tank lid off.
-
Above a sofa
10–12" above sofa
Measure from the top of the sofa back, so the shelf feels connected to the furniture without crowding heads.
-
Above a bed
16" above headboard
High enough that you won't hit it sitting up, low enough to reach. Keep heavy items off shelves over a bed.
On its own wall? Hang a single shelf about 48–60" from the floor, close to eye level.
You may also like